
Project 1: LED Game
- Jack Plantz
- Oct 24, 2018
- 5 min read

My project is an arcade game that uses a gesture sensor to control a matrix of addressable LEDs. When the game is plugged in, a white LED appears at a random location on the screen. When you wave your hand over the gesture sensor, a red LED is illuminated that you can move around by waving your hand over the gesture sensor in the z and x axises. The object of the game is to move the red dot to the white dot, and when you do the red dot turns into a trailing line that follows the location of the dot. The length of the line gets longer for ever white dot you get, and the line fades through a rainbow of colors, so that the first dot is always red and as the snake of LEDs follows it changes through all the colors. When you catch the dot 30 times, the matrix plays an animation of circles racing out from the point where you got the last dot, fades through all the colors, then resets the game. I had a lot of fun making this project, and learned a lot about addressable LEDs, the Adafruit GFX graphics library, and programing with Arduino in general.
Materials:
- 1 Arduino Uno
- 198 WS2812 LEDs
- 5v 10 amp power source
- Sparkfun XZ Gesture sensor
- 1/4" plywood
- Jumper wires
- Solder
- Wood Glue
I originally started with the intention of making a climbing wall with LEDs to light up the individual holds that are 'on' for a particular route. So I designed my matrix to be 11 LEDs wide and 18 tall, the same dimensions as a MoonBoard, a popular system of climbing walls designed for climbing training on standardized routes. I my reel of LEDs into 11 strips of 18 LEDs, and laser cut a grid to hold all the LEDs in position.

Then I began the tedious process of soldering all of the data input pins for the strips together in a zigzag fashion. This allows all of the LEDs to be controlled from a single pin by the Arduino. I ended up moving away from the idea of a climbing wall at this point because I realized that once I built this small scale version, I wouldn't be able to easily scale it up to a larger version. I would have to cut apart the entire strip and solder between every individual LED, which would have been about 20 times more tedious. The power and ground pins actually didn't need to be soldered in series like the data pins, so these cut right across the bottom of the entire matrix. This actually is a better way to power the WS2812s because it distributes the power more evenly to the strips rather than having it need to run through all of the LEDs before reaching the ones at the end. The power supplied to these LEDs also had to come from an external power source, not from the 5v pin on the Arduino, so that all of the LEDs would not draw too much current through the Arduino. I also wired in a second barrel connector to the power source, in parallel with the LEDs, to connect to the Arduino and power it without needing to connect to USB.

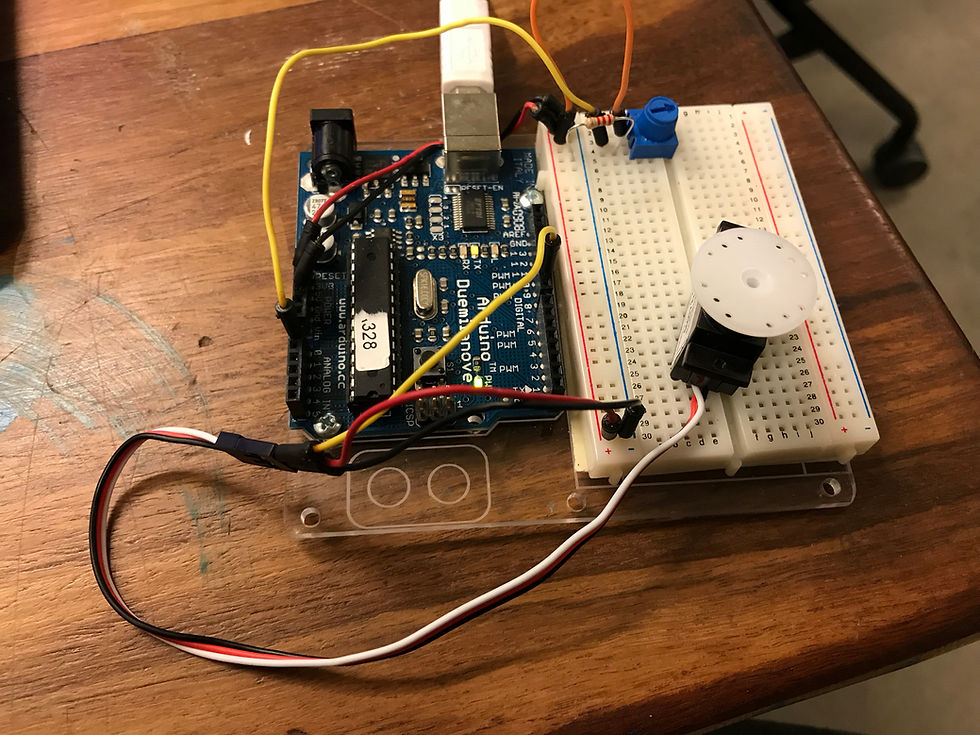
I also made sure that the gesture sensor was working by connecting it to the Arduino using the pins recommended on SparkFun's website, and testing it with example code.
After I had the hardware for the matrix built, I started working on programing. I used the gesture sensor example code as a starting point, as it had all of the correct setup procedures to collect data from the sensor. I then used the Adafruit NeoPixel library to light up a single LED corresponding to the value that the sensor gave for the z direction. This library treated the matrix just as one long string, so the LED would move in a zig-zag across the matrix, but it helped me to experiment with what values to map the output of the sensor to. Eventually I got two LEDs illuminated in different colors, on changing according to the z position from the sensor, and one from the x position.
But These LEDs were still only moving in one dimension, along the data line of the WS2812s. In order to use them like a matrix, I downloaded the Adafruit NeoMatrix and GFX Libraries. These allowed me to specify the x and y coordinates of a pixel I wanted to illuminate, rather than simply the position along a line. I mapped the x position from the sensor to the horizontal direction on the matrix, and z to vertical.
Originally I wanted to use the gesture sensor to track the position of a user's hand to change the which LED was lit up for the purpose of selecting a specific climbing hold. But after prototyping the matrix and using the gesture sensor to control which LED is illuminated, I found that the input from the gesture sensor was very jumpy, making it difficult to select a specific hold or LED. I started working on some code that saved the previous values measured by the sensor to arrays, updating as new values are measured, so that I could average the previous values and reduce the jumpiness. This did work, but the LED seemed to move on a delay from moving my hand, making it still difficult to control.

So I decided to lean into this difficulty and create a game instead. I found that my code that stores the previous values was useful because I could plot lines between the previous points that were illuminated using the GFX library. This made a cool, snake-like tracing effect that followed my hand as I waved it around. This was cool on its own, but all it took to make it into a fun, playable game was adding one point that would illuminate at a random point on the matrix, then have the code check if the first value in the array was the same as the one that was illuminated. I then experimented with some more features of the GFX library, like circles. I make an animation that creates a circle with an expanding radius at the point where the snake hits the random dot.
Here's a link to my final code: https://drive.google.com/open?id=1LpGN_Zt9aQvDsf_ko8Js4t3uYvaPYDZV

Now, after working through all the code to make the game playable, I designed and built my enclosure. I used a simple box designed on makercase.com as the base to hold the Arduino and wiring. Then I designed a simple triangular box in solidworks to hold the matrix I had already made. I cut holes in the makercase for the gesture sensor pins, the power cord, and the data and power cables to the LED matrix. The result is a clean, minimal looking game. I doesn't really need any instructions, as soon as you get close to it it picks up the location of your hand and starts displaying dots. The gameplay is fairly intuitive also, and it actually gets more difficult as the trailing line gets longer, making it fun to keep playing for longer than just one dot.
I really enjoyed making this project, and I'm really happy with how it turned out! I also love that now I have this platform to experiment with different programing. I can think of so many other games or interactive light shows I could program for this. Overall, I learned a lot, and I'm excited for the next project.


Comments