
Lab 5: Motors
- Jack Plantz
- Nov 13, 2018
- 1 min read
Updated: Nov 13, 2018
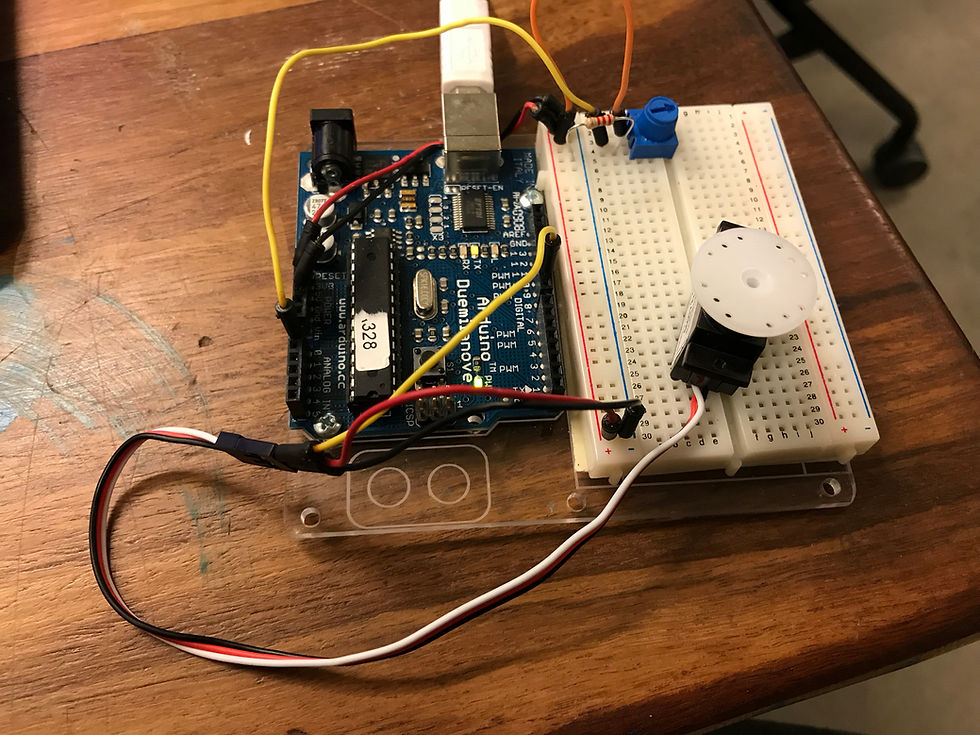
In this lab I learned how to use two different types of motors with the Arduino. The first of these is the servo motor. Servos have relatively high torque and are very precise in their position. I designed mine to respond to the position of a potentiometer, and use its entire 180 degree range.
Materials:
- Arduino Uno (or any Arduino)
- Servo Motor
- Resistor
- DC Motor
- H Bridge Integrated Circuit
- Jumper wires
- Bread Board
Here is the circuit diagram I followed to allow the Arduino to receive input and to output to the servo:

Below is my code, adapted from the servo example code on the Arduino IDE:
And here's a demo of my servo in action:
The second way we learned to control motors is with an H-bridge. The H-bridge isolates the current that drives the motor from the pin output that signals to turn the motor on. This avoids running too much current through the Arduino's digital pins. Below are photos of my connected H-bridge as well as the circuit diagram I followed.


And here's my code for this part of the project and a demo video. You can see the motor jump when it changes directions based on the position of the switch.


Comments