
Form - Lab 2
- Jack Plantz
- Mar 3, 2019
- 2 min read
Updated: Mar 14, 2019

I used my abstract twisty shape from last lab and worked on it a little more with the cage edit tool. I extended some of the edges to irregular heights to give it an even more organic look and feel. I then offset this surface inward to create a watertight form. The edge of the offset was a little wonky after I had distorted the surface, so I had to create some new geometry to make a rounded edge.

After closing the form to create a watertight surface, I used the cage edit tool to stretch the form a little bit more, and add just a little bit more twist into it. For my two other objects, I modeled a lamp base that could be used to support this shape and show it used as a lampshade. I also modeled a desk to show some sense of scale.


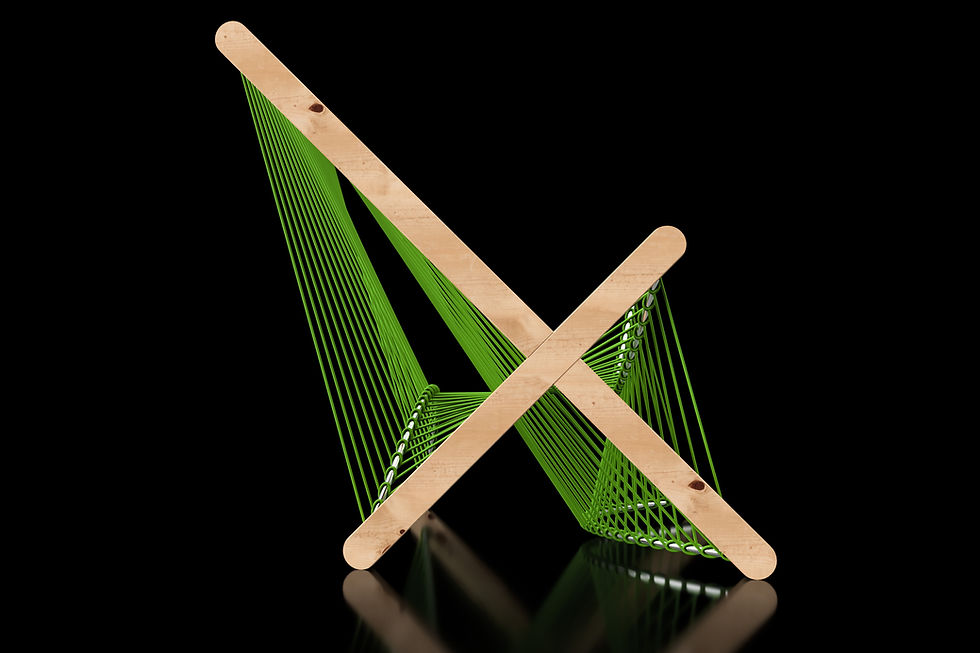
Here is the preview generated by slicer from this shape. I decided to use only vertical cross sections cut with radial slicing and two horizontal sections to hold them together. I think this gives it a cool, flowing aesthetic, and also would allow it to be used as an actual lamp shade. I cut the final product out of cardboard, but I can easily adapt the design to create it out of wood for a more permanent form.
I also created 3 different laser cut joints, two that join at 90 degrees, and one that joins flat. I made a corner finger joint, but varied the width of the square fingers from narrow to wide back to narrow. This made for a join that is visually interesting as well as functional. For the flat joint I made a curve pattern that repeats down the length of the joint inspired by one of the patterns on the 50 digital joints poster. For my final joint I created a locking joint by using the flexibility of the material. I cut in notches that allow the locking mechanism to spring outward through the holes in the second piece. I cut these out of cardboard to visualize how they are assembled and what they look like.


Comments