Form - Lab 1
- Jack Plantz
- Feb 12, 2019
- 2 min read
Updated: Feb 14, 2019
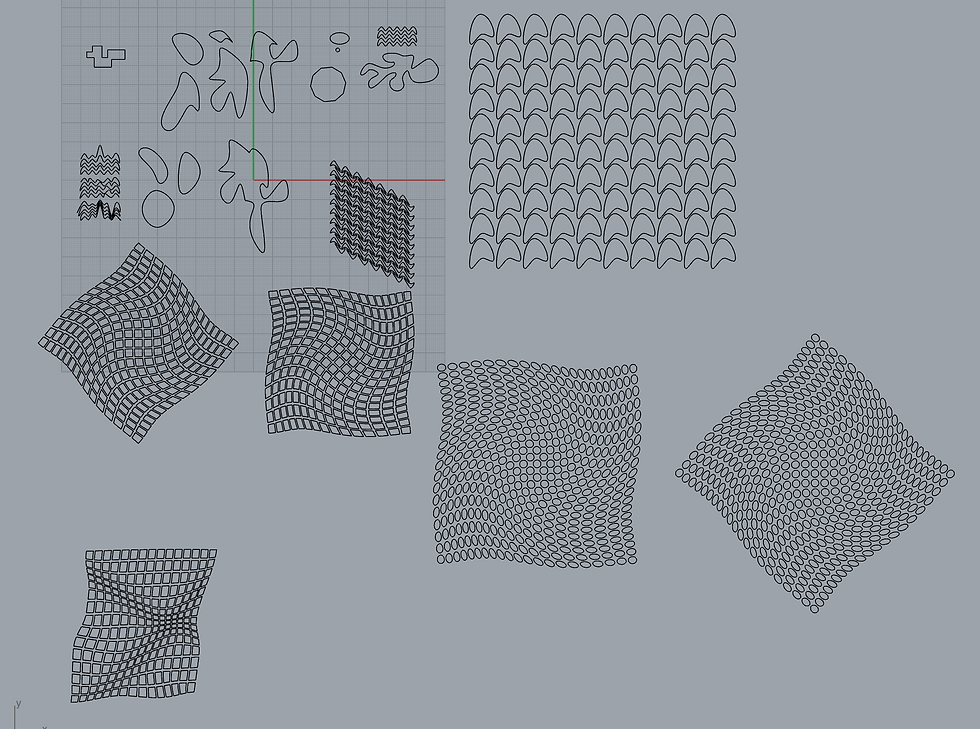
This lab was my first introduction to designing with Rhinoceros. I'm used to making things in SolidWorks, but this program is much more free form. I learned this in the first part of the lab, where you can draw any kind of curve you want without having to dimension and define every aspect of it beforehand.

I also played around with the array and maelstrom tools to create interesting swirling patterns, which can be easily laser cut.
Next I moved on to surface modeling in part B. I found a lot of these commands to be fairly intuitive to use, mostly doing what the command name suggests.

Part C was mostly about solid modeling, which seems to be easier than surface modeling, as the tools already create closed 3d shapes. My favorite is definitely the cage edit tool, as it allows for very free form modeling and makes it easy to create wild looking distorted shapes. The different boolean commands seem very useful for creating lots of different geometry in objects.


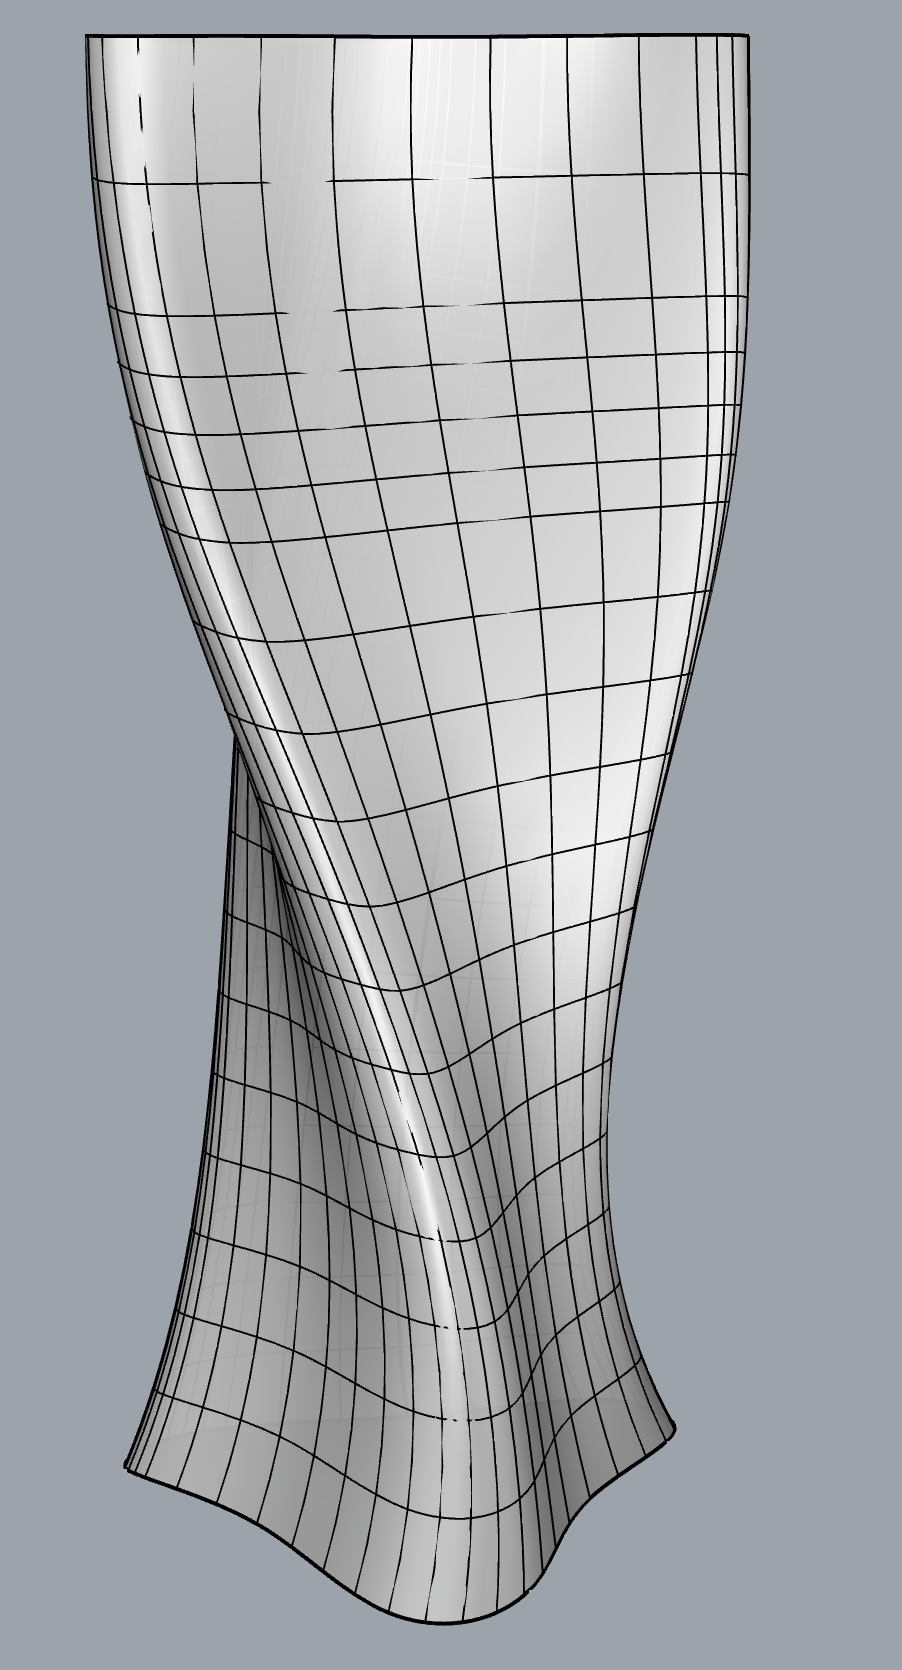
Here's the model I created to 3d print. It's an abstract shape that could be some kind of cup, or even something larger scale like a piece of architecture. I made it by drawing a curve that looked somewhat triangular, but I didn't create any guides so that it would have an organic feel to it. I then extruded this curve and used the twist tool to give it some rotation. I then used a cage edit to mess with the shape a little more and give it a more natural organic look.
My final 3d print worked out well. I used the ITLL 3d printers with some bright yellow/green PLA I had leftover from another project. There's one layer that looks out of place, maybe caused by the filament spool tugging on the extruder.

For part E, I chose to model a climbing belay device. It has interesting geometry that I thought I would be able to create with the tools we've learned so far.

I started by tracing curves on the front side of the belay device, the side with the holes. I used the symmetry tool to copy a quarter section of each curve across both the x and z axises so that the final part would be perfectly symmetric. I then separated the curves and made a loft between them.

With a few fillets and a single rail sweep for the loop on the back, I had a model that looked very close to the original.

I learned quite a lot about the different tools available in rhino and how to use them from this first lab. It definitely takes some getting used to to operate in the environment of the software, but I feel like how I have the hang of how to navigate, figure out which view I should be using, figure out what snaps I should have on, etc. I'm excited to learn about even more things that can be done with it.


Comments